Aruba Networks, Configuration Example, Switching
AOS – WireShark: remote capture
René Jorissen on October 25, 2019
•
0 Comments
• Tags: #arubaos #wireshark
AOS switches have the option to monitor / copy traffic from port A to port B. You also have the option to send the monitor traffic to a remote switch or even to a remote host. When the remote host is running WireShark, the monitored traffic can be analysed on the remote host.
First you need to configure the switch to send a copy of the traffic to a remote host. Use the following commands to create a monitor session to a remote host. In this case the switch is using IP adres 172.18.9.3 with source port UDP/10999 and the remote host has IP adres 172.18.11.233.
ASW-C01# conf t
ASW-C01(config)# monitor
mac MAC address.
ASW-C01(config)# mirror
endpoint Remote mirroring destination configuration.
<1-4> Mirror destination number.
ASW-C01(config)# mirror 1
name Mirroring destination name string.
port Mirroring destination monitoring port.
remote Remote mirroring destination configuration.
ASW-C01(config)# mirror 1 remote
ip Remote mirroring destination configuration.
ASW-C01(config)# mirror 1 remote ip
IP-ADDR Enter an IP address.
ASW-C01(config)# mirror 1 remote ip 172.18.9.2
<1-65535> Remote mirroring UDP encapsulation port.
ASW-C01(config)# mirror 1 remote ip 172.18.9.2 10999
IP-ADDR Remote mirroring UDP encapsulation destination ip addr.
ASW-C01(config)# mirror 1 remote ip 172.18.9.2 10999 172.18.11.233
truncation Enable truncation for Remote mirroring.
<cr>
ASW-C01(config)# mirror 1 remote ip 172.18.9.2 10999 172.18.11.233
The destination switch must be configured before proceeding.
Has the remote switch been configured (y/n)? y
Next you need to configure the interface for which you would like to analyse the traffic.
ASW-C01(config)# int 4/3
ASW-C01(eth-4/3)# monitor
all Monitor all traffic.
<cr>
ASW-C01(eth-4/3)# monitor all both
mirror Mirror destination.
ASW-C01(eth-4/3)# monitor all both mirror 1
no-tag-added Don’t add VLAN tag for this untagged-port
<1-4> Mirror destination number.
<cr>
ASW-C01(eth-4/3)# monitor all both mirror 1
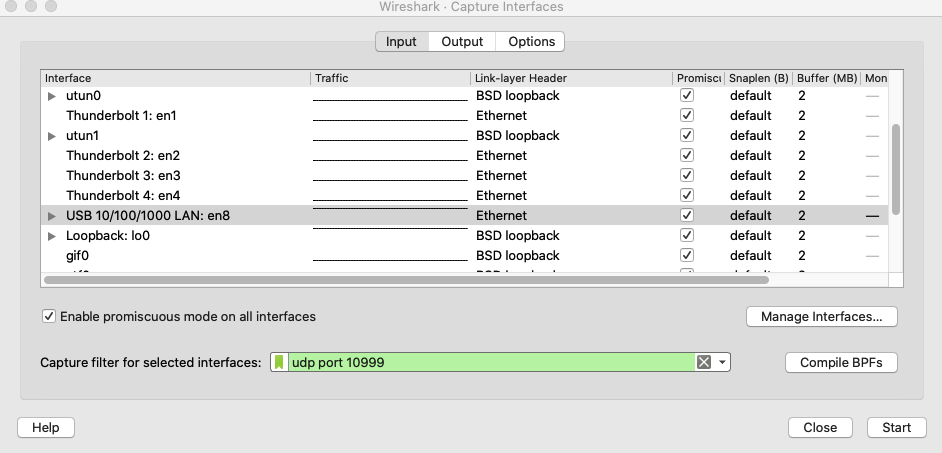
Traffic from port 4/3 is now send to the remote host. Now start WireShark on the remote host and create a capture filter to capture only packets for port UDP/10999.
WireShark displays packets like below, which are useless to analyse traffic. The packets are encoded as HP ERM packets.
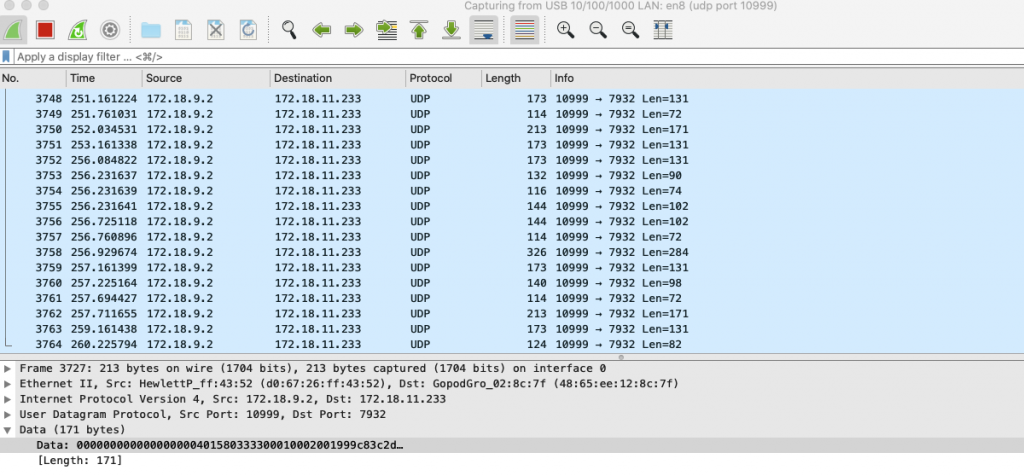
So the final step is to decode the traffic. Just right click on a packet and choose the option “Decode As…”. You could also choose from the menu Analyze >> Decode As…

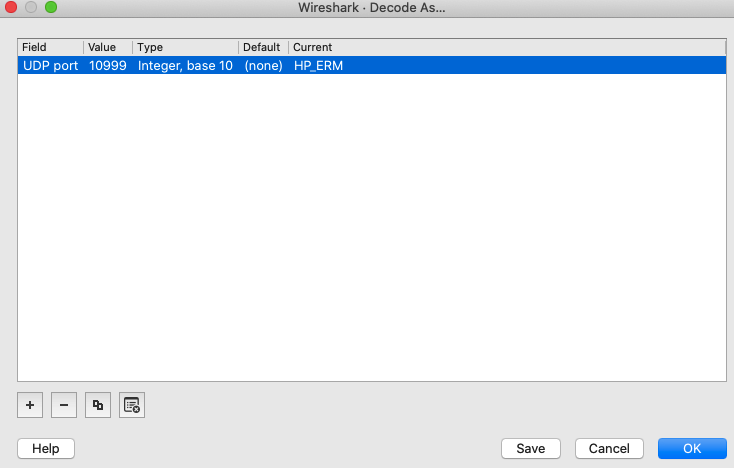
Change the column Current from (none) to HP_ERM from the drop down list and choose OK.
HP ERM, Hewlett-Packard Encapsulated Remote Mirror protocol is used by the HPE (Hewlett-Packard Enterprise) switches based on ProVision ASICs formerly of the ProCurve family, now branded under Aruba Networks, a Hewlett Packard Enterprise company. Unlike Cisco RSPAN, HP ERM encapsulates the frames to be mirrored inside UDP datagrams with a proprietary header, allowing it to be transported over any IP network (like Cisco ERSPAN)
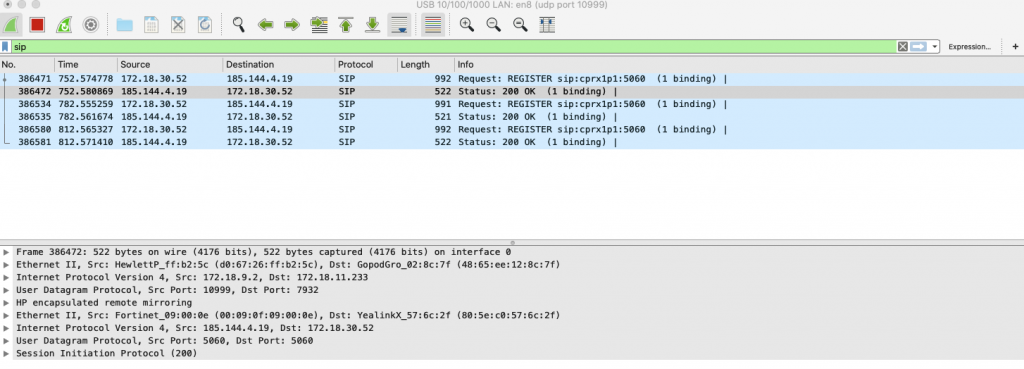
Now the packets should be “readable” for traffic analysis.
René Jorissen
Latest posts by René Jorissen (see all)
- MacOS Big Sur and SSLKEYFILELOG - November 23, 2021
- ClearPass, Azure AD, SSO and Object ID - August 12, 2021
- ClearPass – custom MPSK - July 20, 2021